A Small Craft Space: How I Take Photos of My Cards
I had a couple of people this week email me after reading this post about my craft area. They wanted to know how I take photos of my cards for the blog, since where I make stuff is primarily in the middle of my house with no natural light.
I’m here to tell you that all you need is a flat surface and a nice window… or in my case, a glass door.
Natural light will always be the best light source for your photos. You know those beautiful pictures you see on Instagram of cards and crafts? They’re almost always taken with a natural light source.
Yes, you can use super bright lamps if natural light isn’t an option (I use these babies here, two of them), but it’s not the same as the prettiness and clarity you’ll get from a window. A good HD lamp is a lifesaver in a pinch, though.
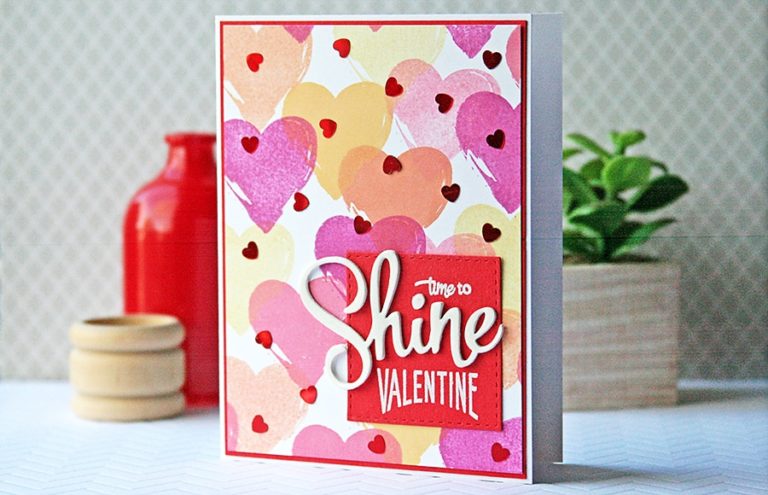
If you don’t have a camera-camera, don’t sweat it – you can also get some fabulous pictures with your smartphone. For this photo, I set up my “photo booth” in its usual spot and snapped the photo with a Canon Rebel T6i.
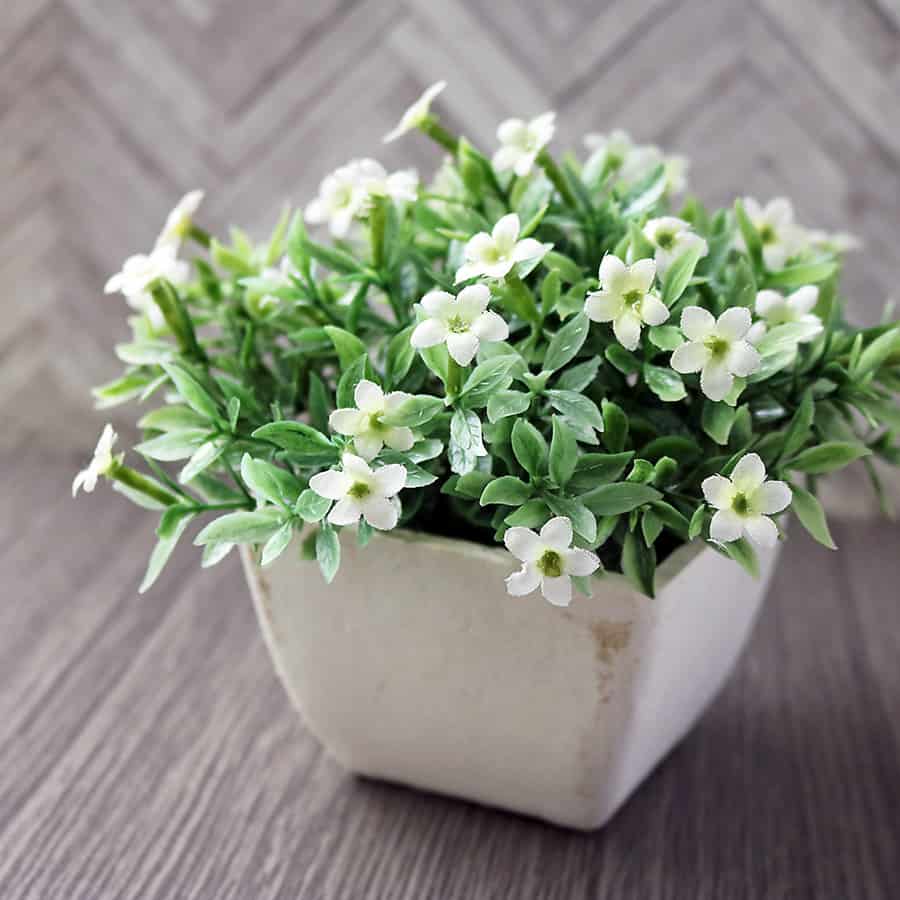
Looks ok, right? A cute little flower on an old wooden table somewhere in a nice cottage on a lazy weekend in summer. In reality, that world looks a bit more like this:
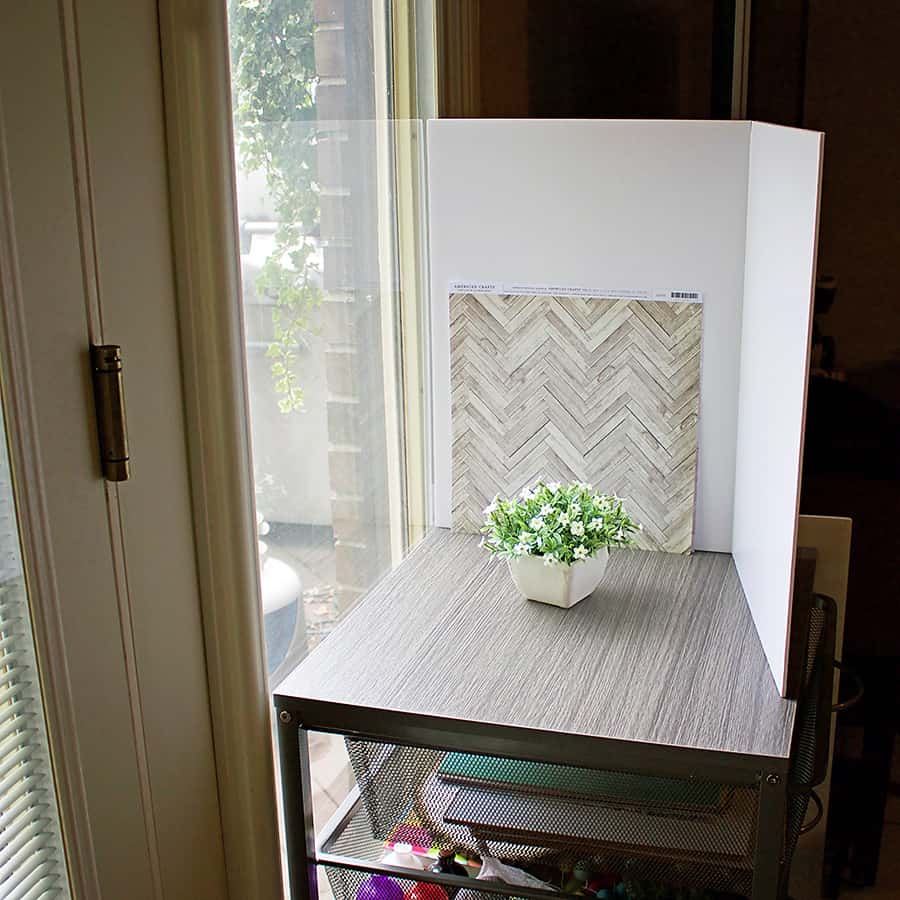
I can’t really give you much of a tour of this area, since it’s basically just a small table. 🙂 I’ll run through what you can see here.
This is the brightest window in my house – the back door leading to the deck. My favorite part of this setup is the Mesh Drawer Organizer. I found it at Costco, and it has four mesh drawers that I can use to store props, papers, and backgrounds all in one neat and tidy area. Most of my backgrounds are scrapbook papers, which I pin up using repositionable adhesive.
To reflect light back onto the subject, I use a shiny foam core poster board (which is split in half and taped so I can fold it). That helps lessen the shadows – and if I can shortcut photo editing in any way when I’m taking photos, I’m all over that!
Speaking of editing photos, Adobe Photoshop or Lightroom is usually the weapon of choice for most people. But since I came from a scrapbooking background, I still use Photoshop Elements for photo editing. It’s not as impressive as Photoshop proper, but it saves a lot of time with built in presets.
If you need a little help with how to take beautiful pictures, I also found a sweet course at CreativeLive called Craft Photography Fundamentals. They broadcast their classes now and then for free, including this one. If you’re interested, sign up for notifications on the CreativeLive website and they’ll give you a heads up whenever there’s a free broadcast or discount available.
And that’s how easy it is to set up a photo booth for your crafts: a small table, some patterned paper, a foam board, and a window.
If you have any questions, please comment below and I’ll help you out… Thanks for coming by today to see how I take photos!
<3 Niki