4th of July Party Invitation
I was making 4th of July party invitations this year and I wanted to do something with just stripes… but who’s got time to line up and stamp stripes? Maybe in the winter – but for me, this time of year is especially hectic with planning getaways and activities along with all the usual responsibilities.
To make mass production a little easier, I used quilling paper to put together a few of these cards over the last couple of days for a shindig this weekend.
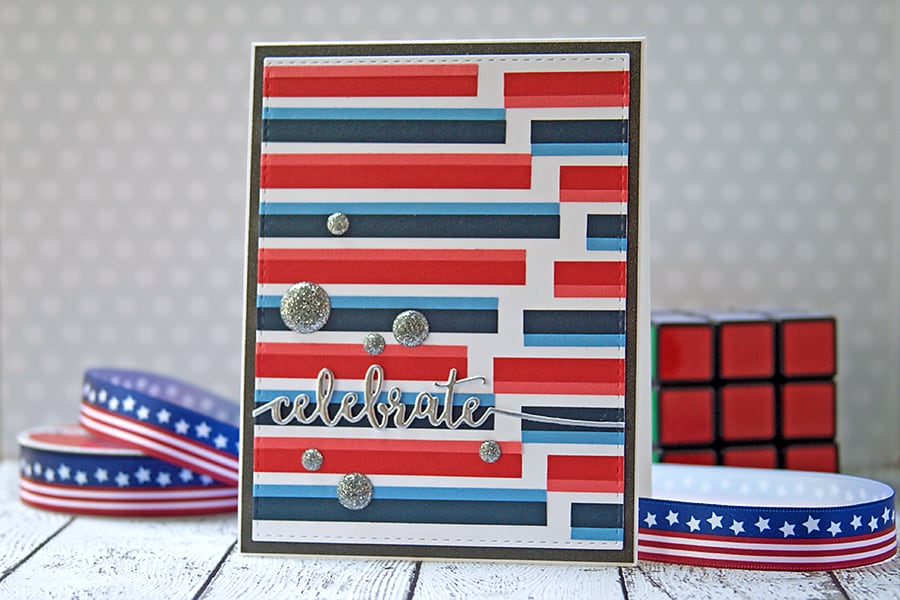
It wasn’t overly time-consuming either, thanks to a couple of paper strips and a few dabs of glue. To get them started, I snipped a dark red 1/4″ wide strip into two pieces and lined them up just below the top of the white card panel (leaving a 1/4″ space between them to create the pattern), then glued them down before adding a 1/8″ wide strip of a lighter red above and below the dark red pieces.
After that, I simply worked my way down the panel using the strips to space and place while alternating colors. There’s a 1/8″ white space between each color and the gaps in the colored stripes are 1/4″wide.
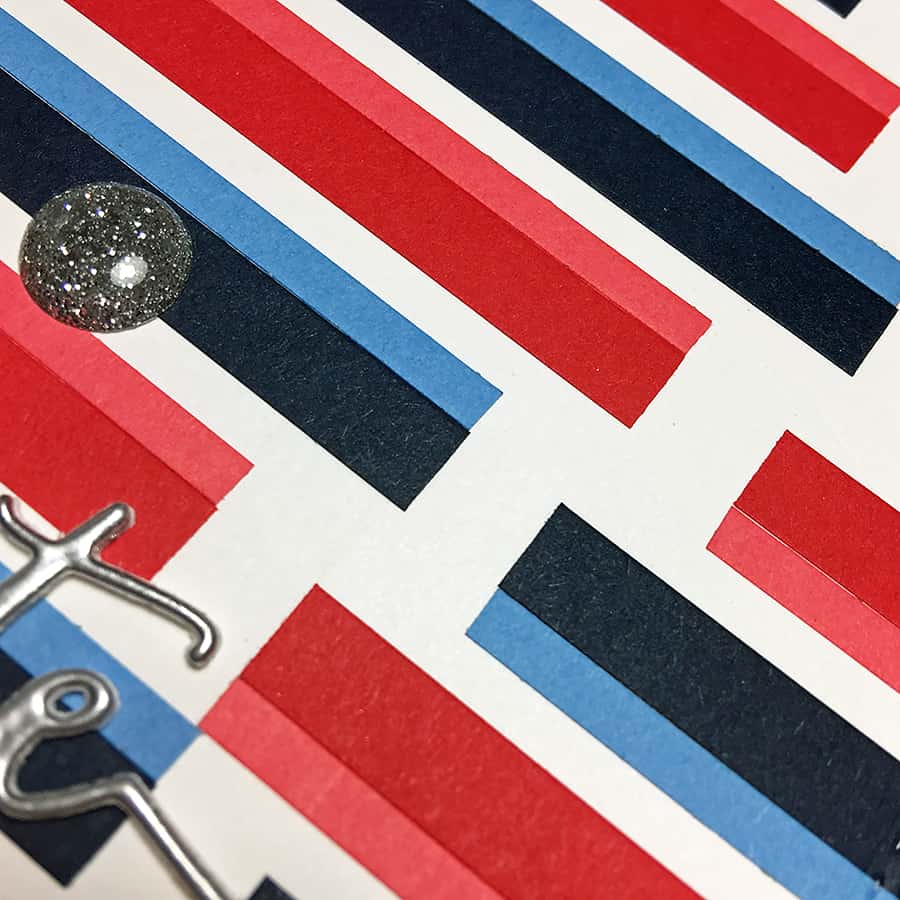
Then to finish the edges, I ran the panel through my die cut machine to create a clean edge and stitched border.
For the sentiment, I die cut the word “celebrate” three times, then stacked and glued them together. Once they were dry, I dabbed it with Versamark Ink and dipped it into some silver embossing powder. After hitting it with my heat gun to melt the powder, I adhered it to the card front.
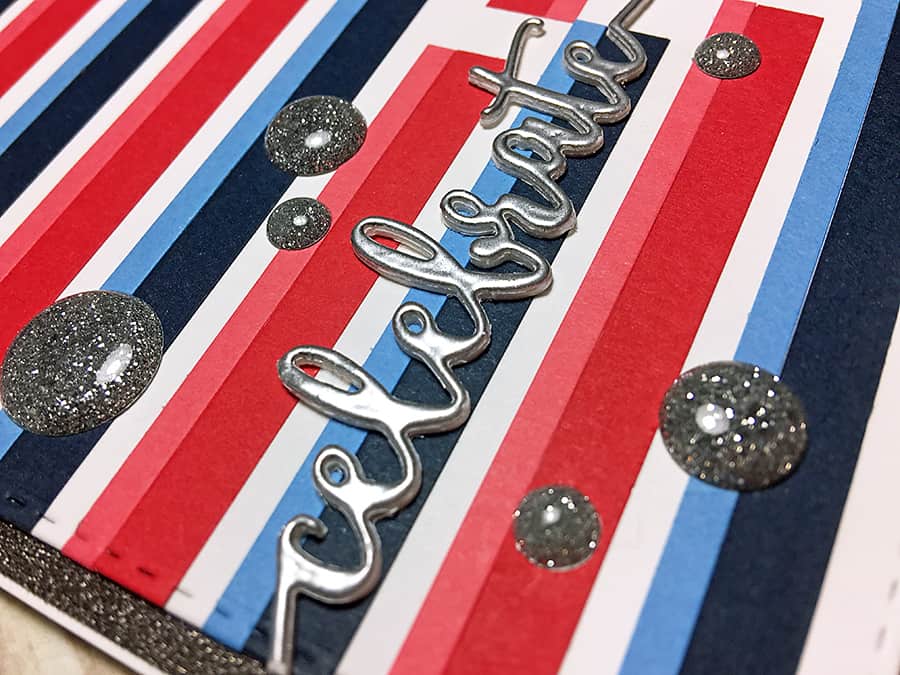
Looks almost like metal, doesn’t it? I love when the powder melts all smooth-like.
And to finish off, I stuck some silver glitter enamel dots around the sentiment because I love dots and hey, glitter! Actually, that’s a total lie. I didn’t have any stars. 🙂
I hope y’all have a fabulous holiday weekend!
<3 Niki