Making a Framed Flowery Mother’s Day Card
With Mother’s Day almost here, I thought it time to make a card for my dear mom-in-law. And of course, what better image for a Mother’s Day card than… flowers!
[Tweet “Flowers make everything better.”]
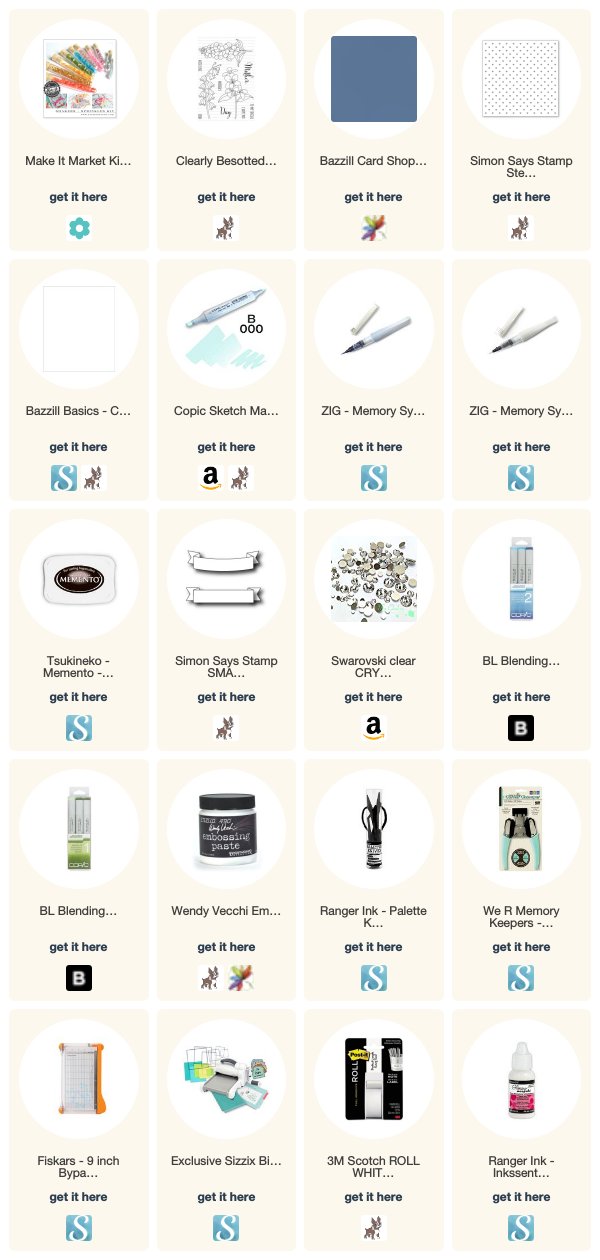
I chose one of the outline floral designs from the “Fresh Flowers” stamp set by Clearly Besotted because I felt like doing some coloring. But first, I needed to emboss my tiny heart background.
I taped down my white panel (5.25″x 4″) and then secured my stencil over it. Once I smoothed out a thin layer of embossing paste evenly over my stencil, I carefully removed the tape from all sides except the top and lifted the stencil carefully like a hinge. Then I set the panel aside to dry. For like an hour. Without moving it from the scratch paper I was working on.
What you see in the pictures was my second attempt… if you want to see what happened the first time I did it, you need to follow @cardstoq on Instagram 😉
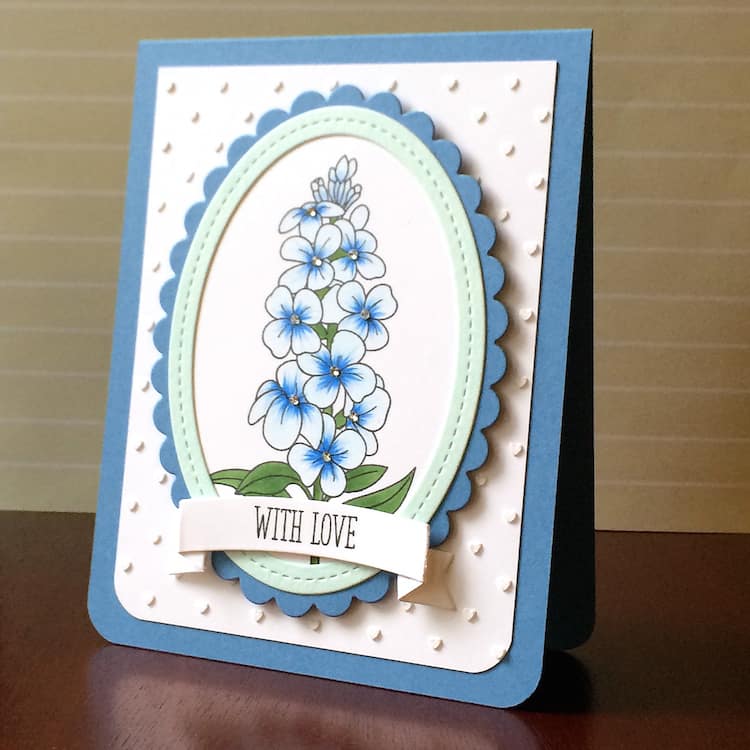
While all that drying was going on, I stamped the flower image with Memento (safe for Copics) on another piece of card and die cut it using a two-part oval die. I then die cut the oval again from blue cardstock, and finally cut two of the stitched ovals from white.
Setting all that aside, I used my Copics to color the flowers. I started with the lightest color (B000) to fill them all in, then used B24 and B28 respectively to flick out from the centers.
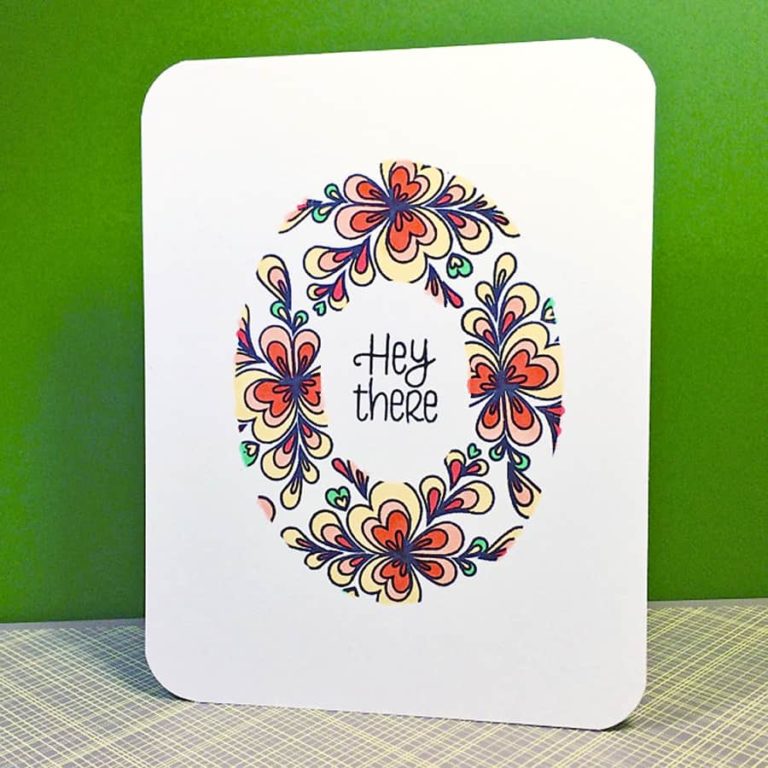
The flowers needed a little something extra, though, so I decided to add a little sparkle with blue and clear Wink of Stella brush pens. I used the blue to flick out from the centers very carefully – the color is quite vibrant and I didn’t want the flower centers to be too intense. The edges of the petals popped nicely with a quick outline with the clear brush pen.
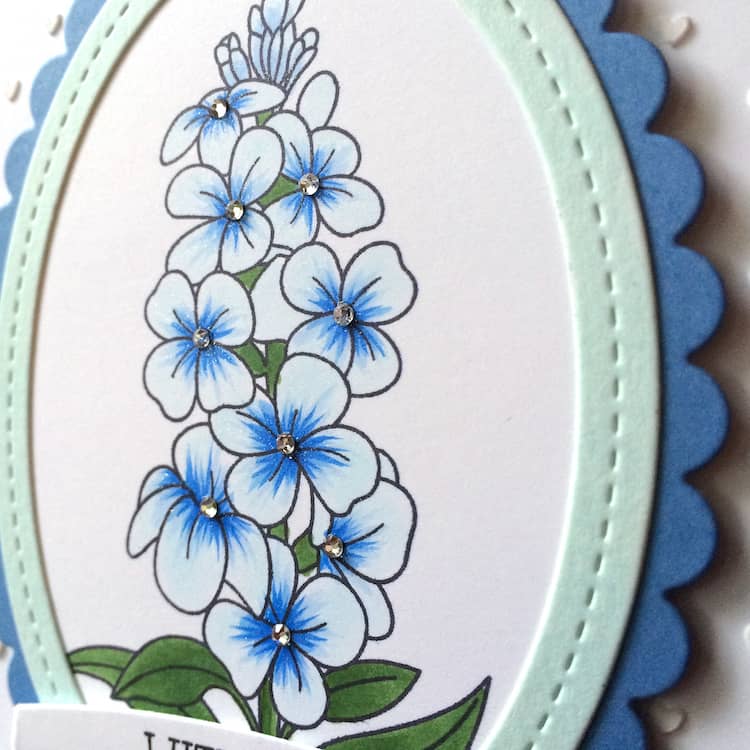 Sadly, I can never seem to catch the glittery finish on camera. Even if you look closely, all you can see in my pictures is a small dusting of little white flecks. I assure you, though, if you try these pens at home you will LOVE them. The ink looks fabulous in real life.
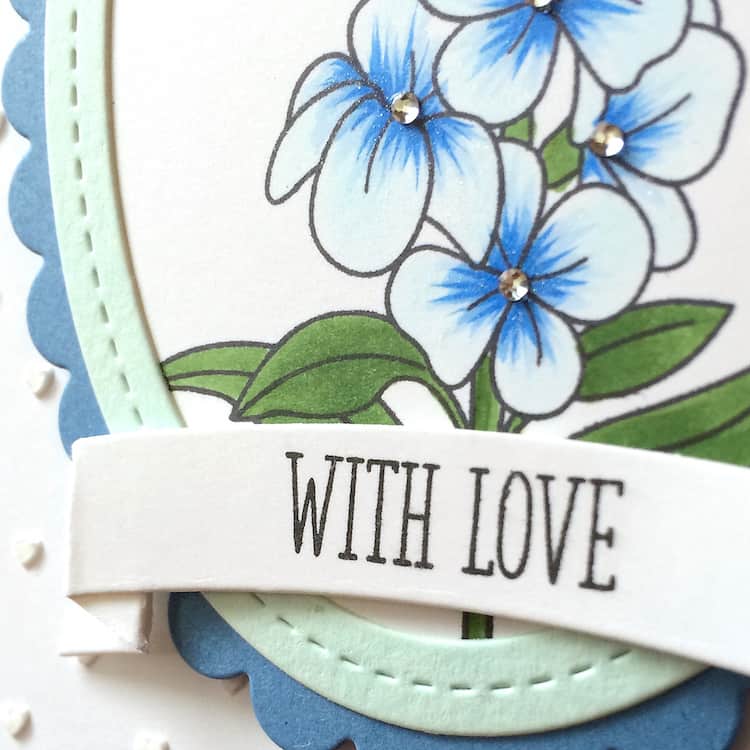
After I finished up with the glitter, I affixed my crystals with a little Glossy Accents. Since my hotfix tool broke, the Glossy Accents worked in a pinch, but hot fixing them is the way to go – once you melt those babies on, they don’t come off.
To put together my frame, I used one of the stitched ovals covered in the adhesive as a backing to make sure my center stamped oval stayed put inside the dark blue scalloped edge. I then placed the second stitched oval (which I had colored using B000 to match my flowers) over the seam to hide it. I layered that onto my embossed background with foam squares.
For the sentiment, I die cut a small banner and stamped ‘With Love’ in the center. I used a couple of thin foam squares to add a little more dimension to my card.
 To finish up, I simply chopped the bottom corners with a 1/4″ corner rounder. I also added a white liner to the inside for writing on 🙂
Thanks for stopping by today to check out my Mother’s Day card. Do you craft for Mother’s Day? Do you spend your Mother’s Day crafting? Leave a comment below and let me know!