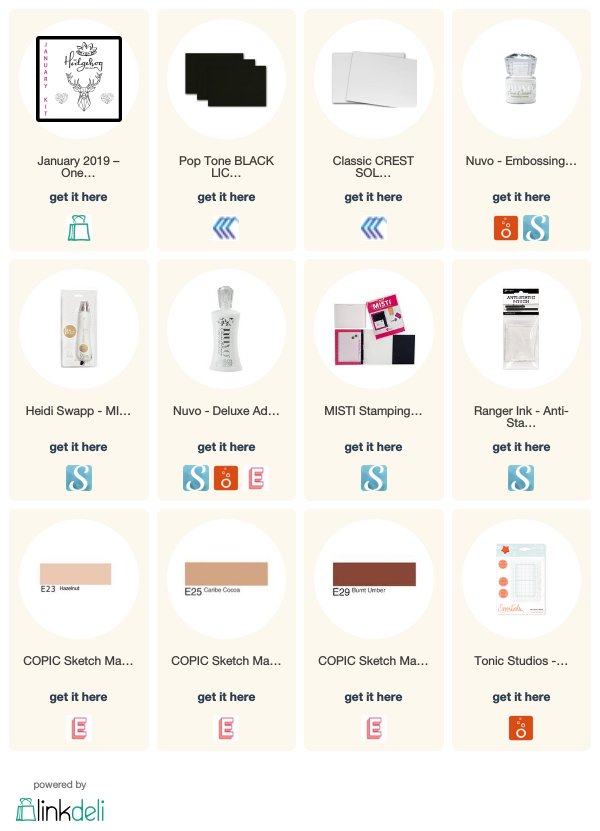
Owl Always Love You + Geo Background
Hello! Have you ever experienced crafter’s block? It’s just like writer’s block, but with glue guns and paint 🙂 I’ve had a terrible case of it since before Christmas, but I think January’s Box from the Hedgehog Hollow is pulling me back out! I love the geometric theme so much, and I have so many neat ideas for the products that I want to share with you.
For today’s card, I chose the chipboard owl and made a geo background with the Finding Your Way stamp set. I didn’t know where I was going with this design when I started, but I think it turned out pretty good!
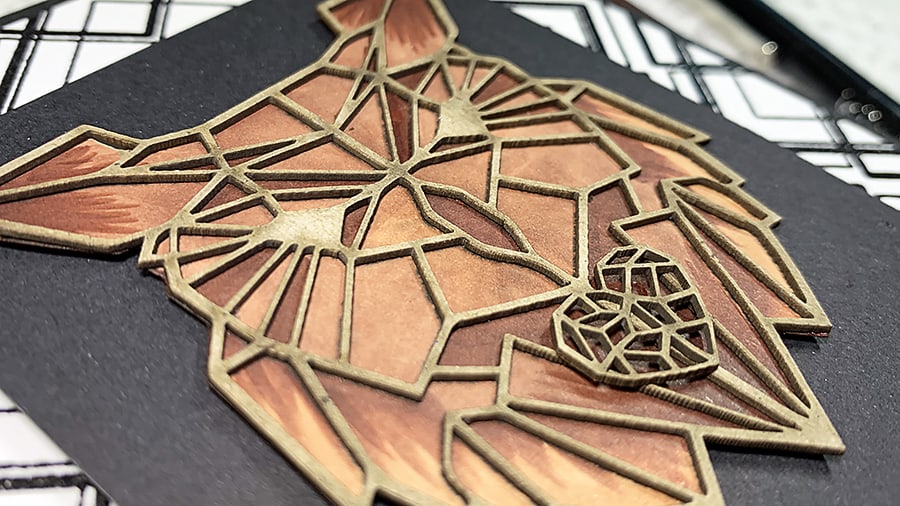
To get the stamped design to line up, I started with one in the middle of the card. The MISTI helped me place it correctly, and I used VersaFine Ink in case I was going to emboss.
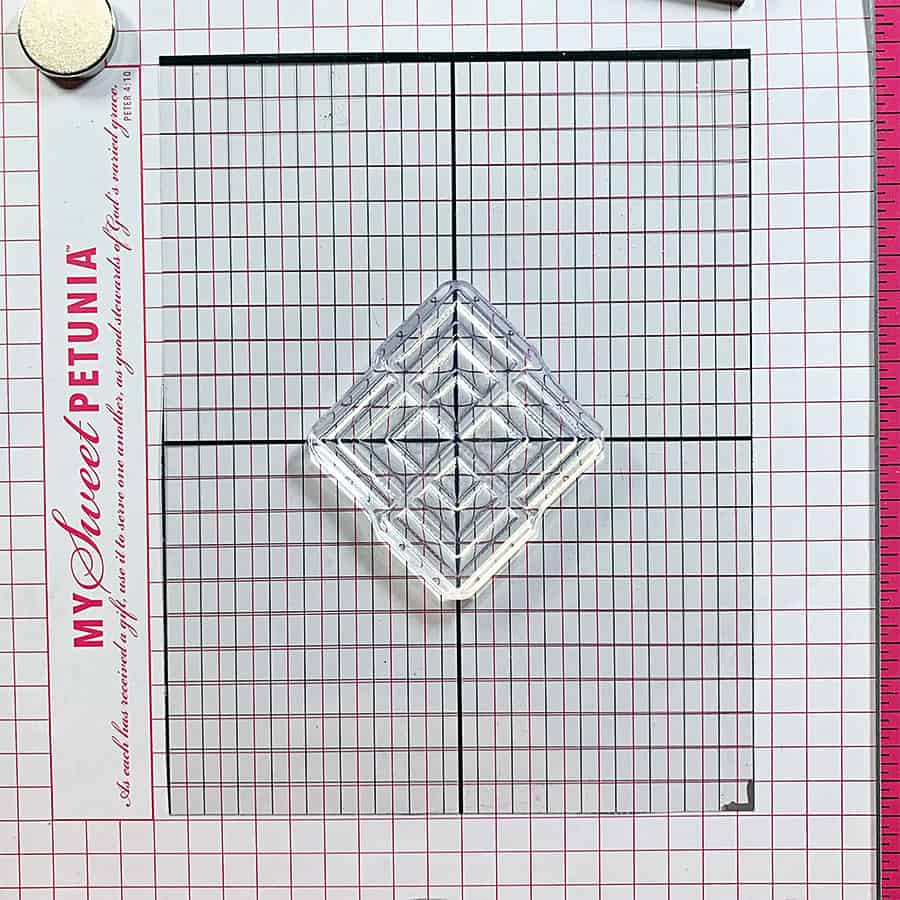
For the rest of the design, I stamped the diamonds with a Mini Stamping Block from Tonic Studios. To space them properly, I looked through the block and used the edge of the actual stamp as a guide. It was faster to do it like this, even though I had to be more careful.
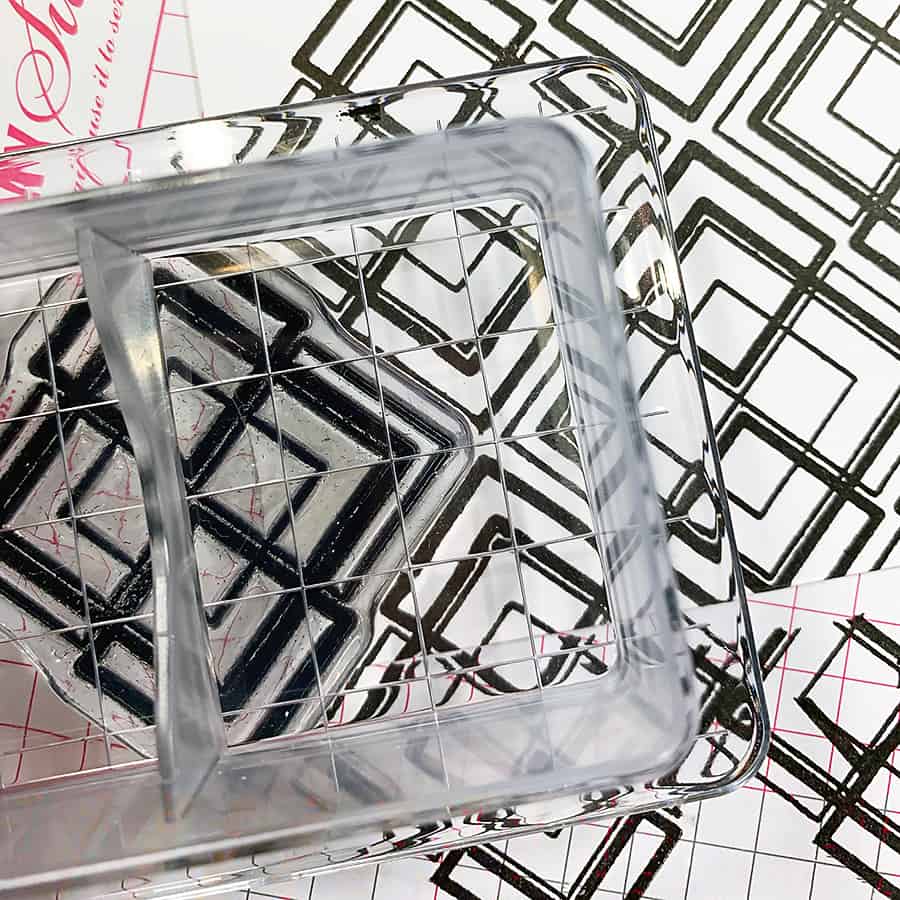
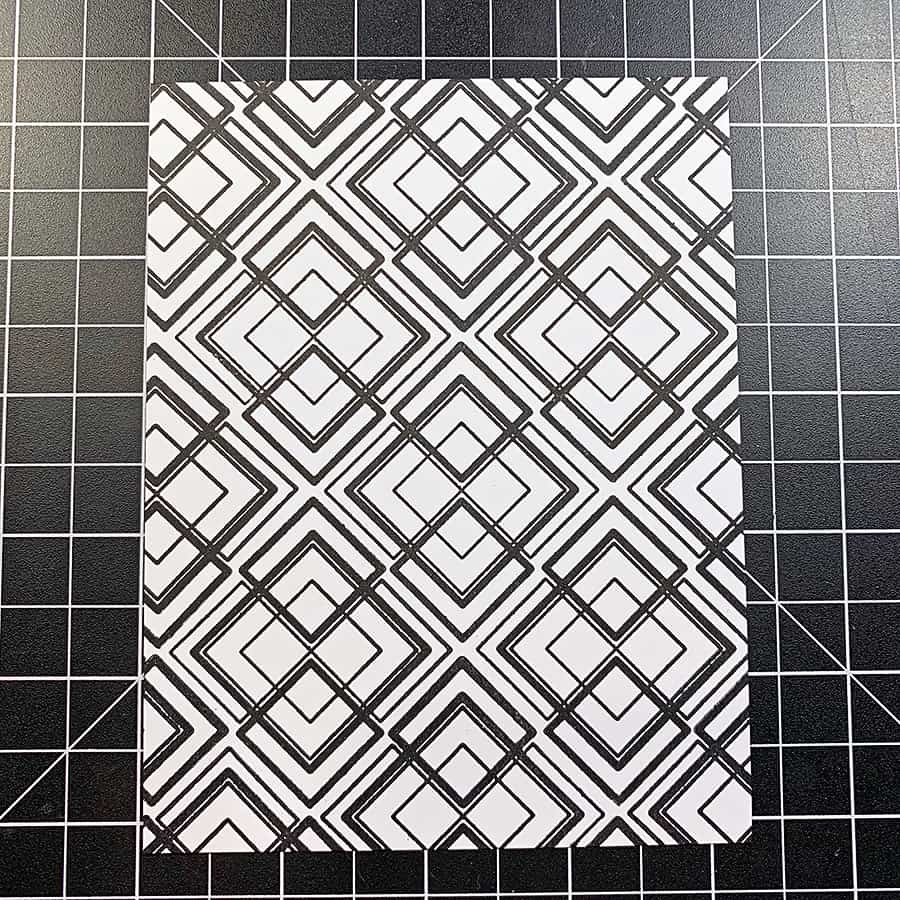
Once I finished with the stamping, I did indeed decide to heat emboss because I thought it was going to become a stained glass design with blended Distress Inks.
I embossed it, but there was no inking happening today. I couldn’t do it – the card front was just too dang pretty to color!
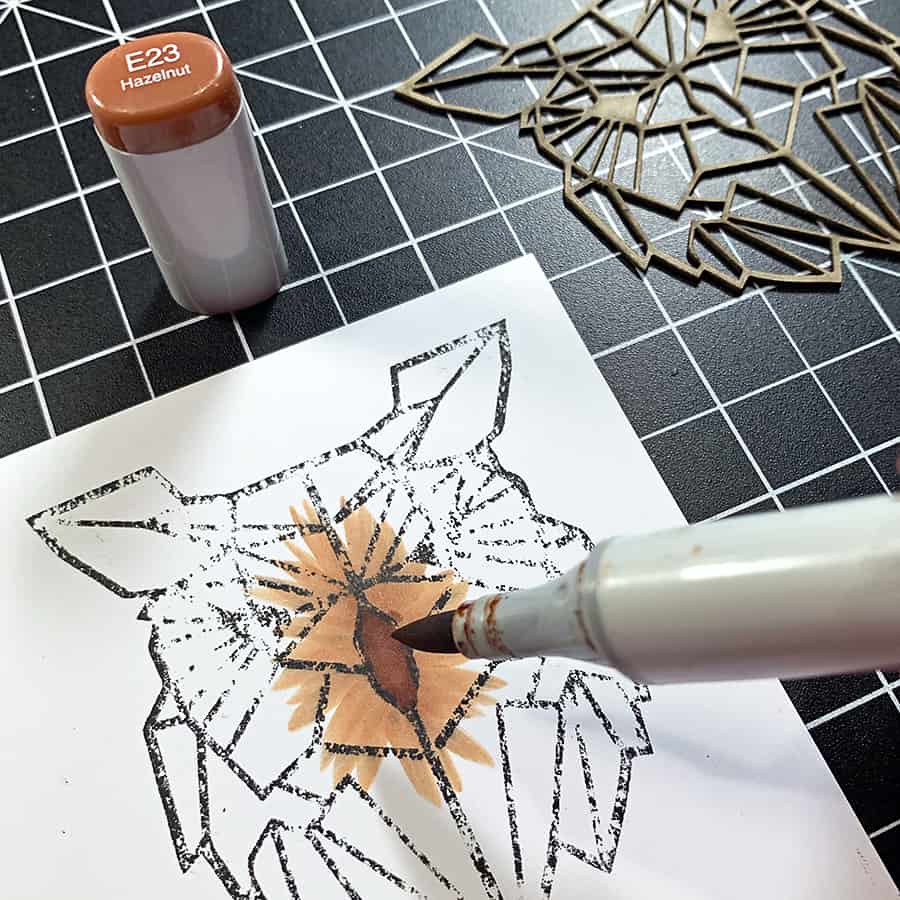
So, I set it aside and got to work on the owl. I inked up the back of the chipboard with VersaFine Ink and used it as a stamp on some smooth white cardstock.
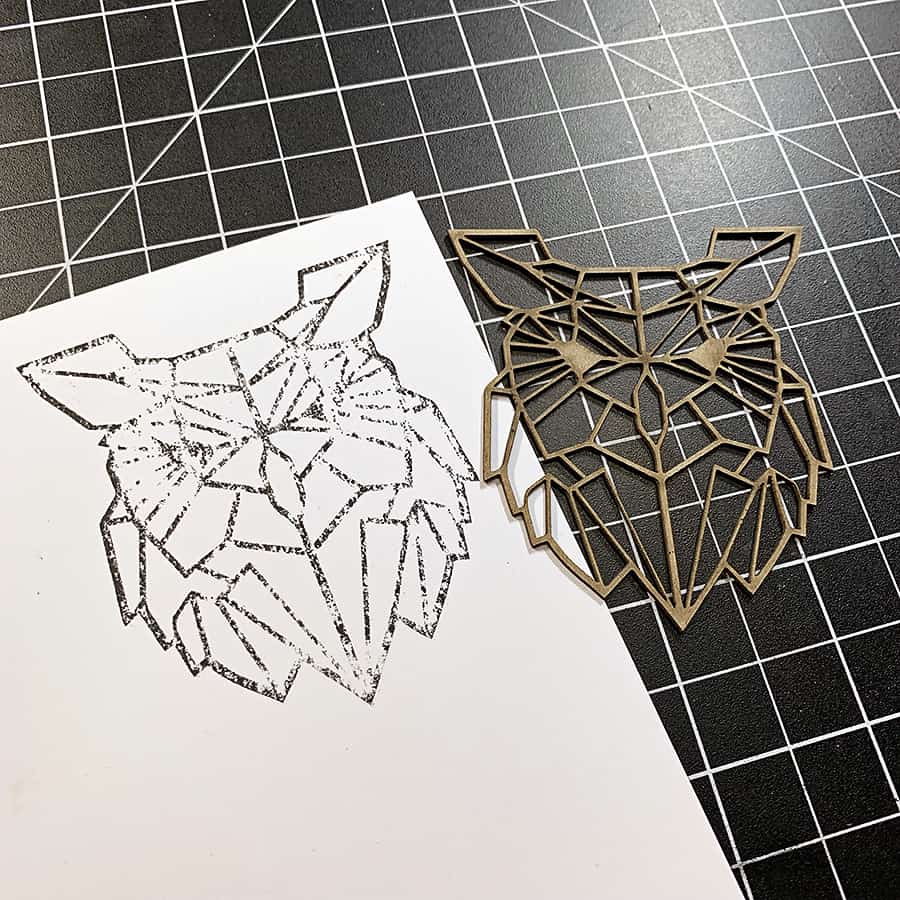
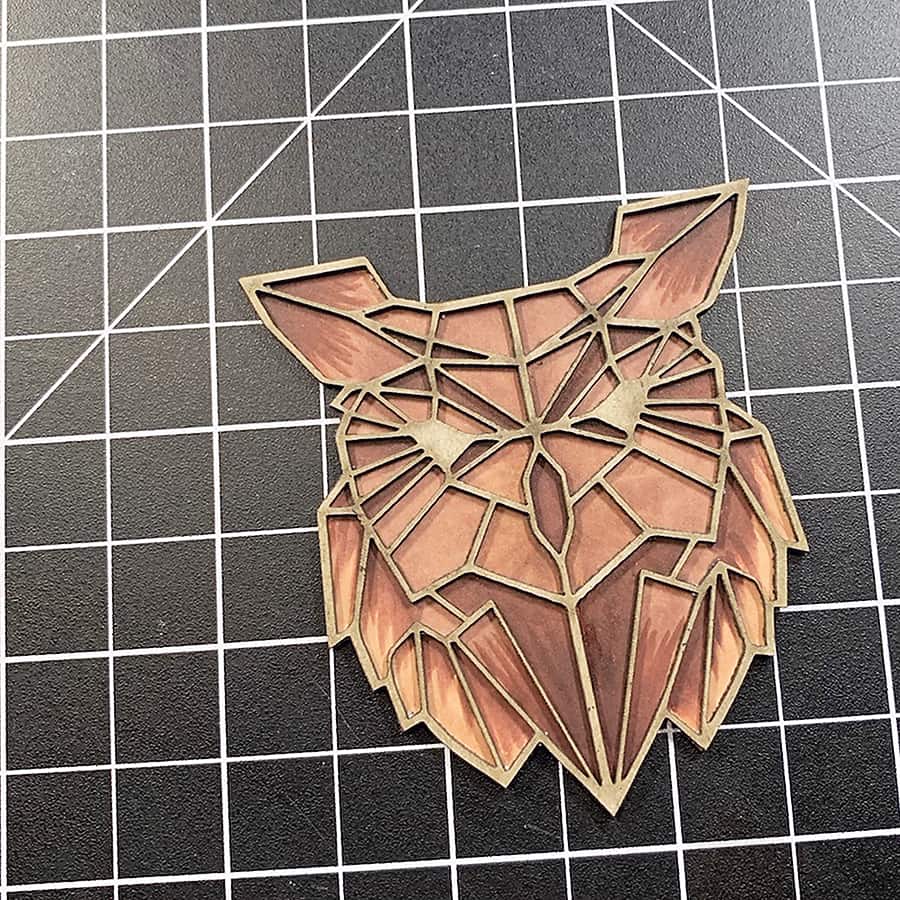
Then, I colored in the sections with three Copic markers: E23, E25, and E29. I also did some flicking here and there to add a bit of contrast against all the hard lines, and I didn’t bother to smooth out the colors since I wanted some variation – like a suggestion of feathers 🙂
After that, I cut out the colored image and ran the darkest brown marker along the edge to keep the white from showing, and adhered the owl in place with some Nuvo Deluxe Adhesive.
While it was drying, I trimmed a 3” x 4” piece of black cardstock and heat embossed a sentiment from one of the other stamp sets that came in the box. Then, I attached the owl just above it with some foam squares and I added the little heart chipboard shape <3
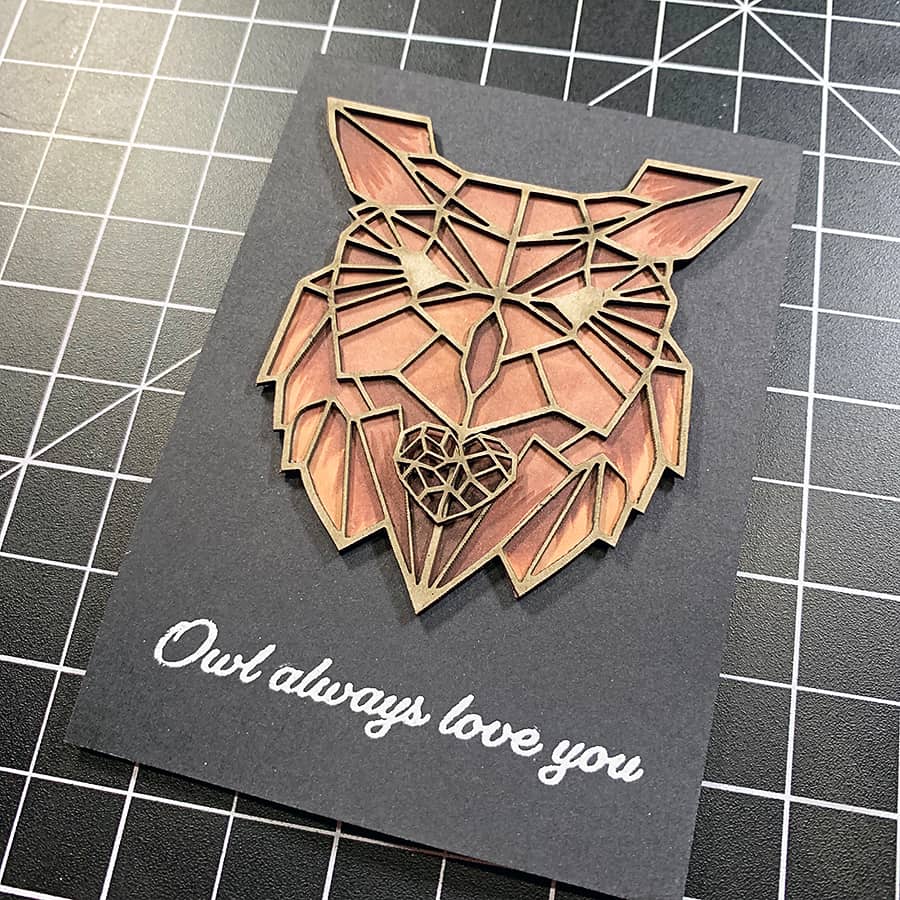
To put everything together, I cut the geo background down to 4” x 5-1/4” and layered it over an A2 piece of black cardstock, then adhered the owl rectangle over the geo design. Finally, everything went on to an A2 card base.
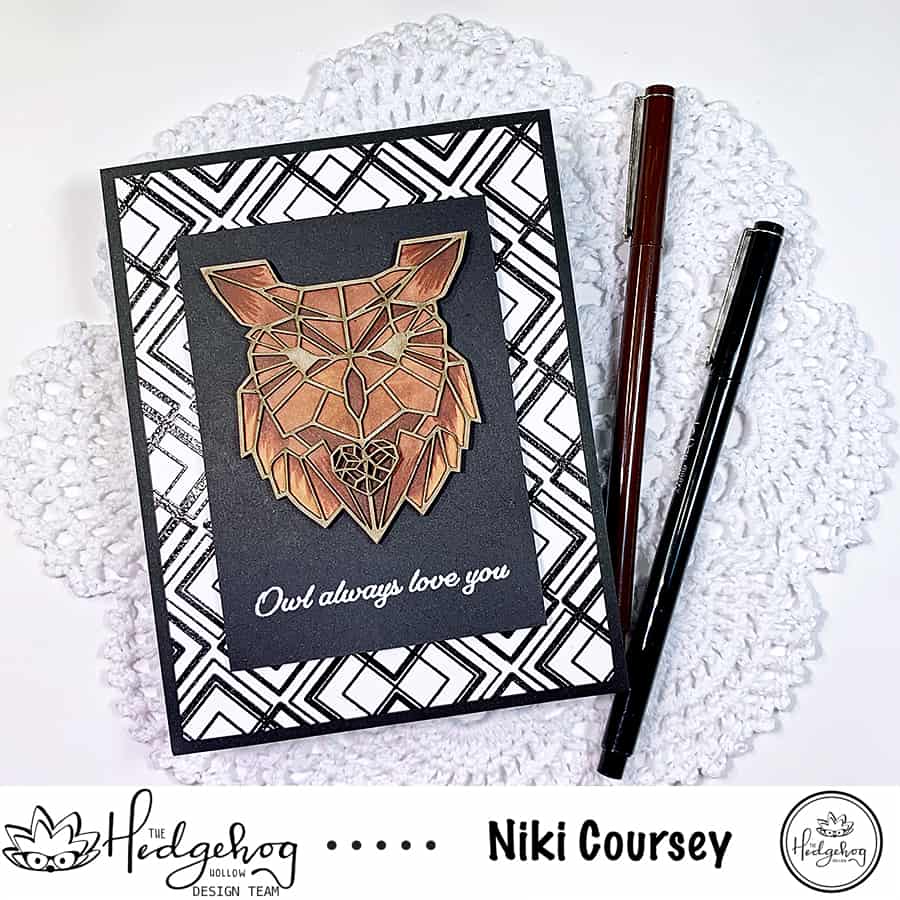
Thanks for coming by today to check out my cute little owl and geo background card. Don’t forget to pin to your Pinterest boards before you click here to see another card I made with the January ’18 Box!